
Alright, buddy, let's talk about marking your woodworking projects. It's a little detail that can save your bacon, especially when you're dealing with expensive wood or intricate cuts. Think of it as your secret weapon against mistakes and frustration.
Why Mark?
First off, why even bother marking? Well, imagine this: you're working on a beautiful piece of walnut, ready to cut those intricate dovetails. No markings. Just winging it. You're feeling confident, but then, BAM! You realize you cut the wrong piece at the wrong angle, and that beautiful walnut is now a sawdust pile. Not cool, right?
Marking is like having a map for your project. It tells you exactly where to cut, where to drill, where to sand. It's your roadmap to a successful project.
How to Mark:
So, how do you mark your wood? It's not rocket science, but there are a few tricks to make your life easier:
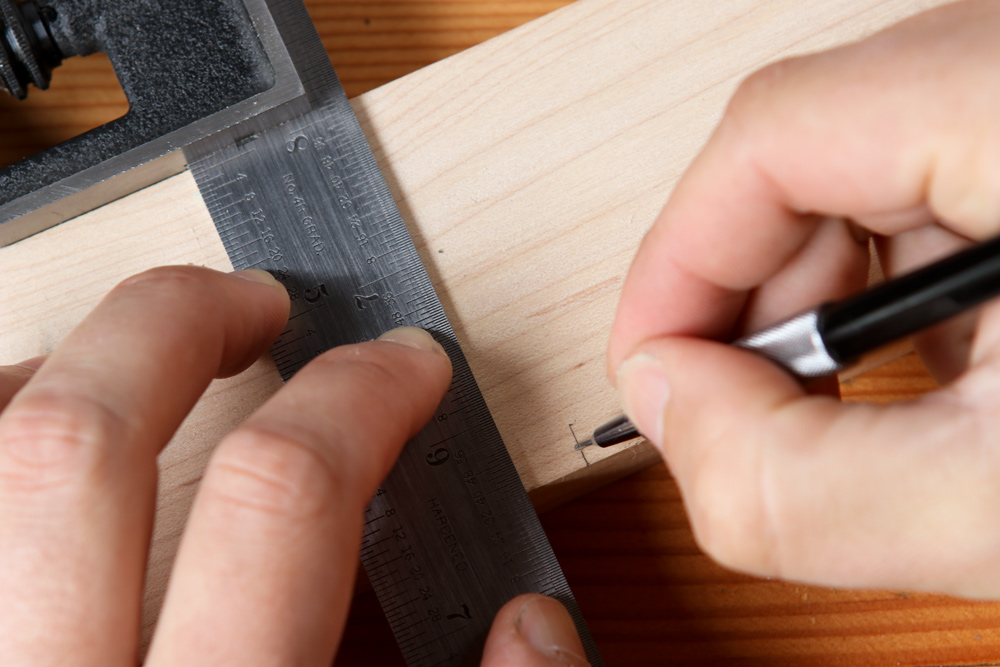
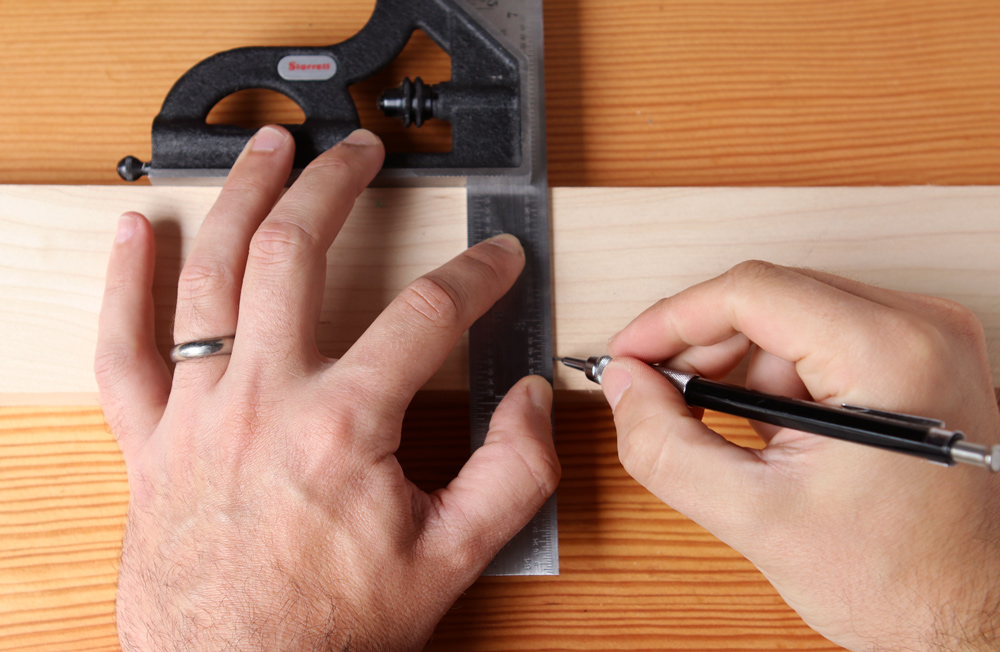
1. The Right Tools: First, get your tools in order. You'll need a pencil, a sharp one, and a ruler or measuring tape. For those tricky angles, a protractor is your best friend. For super precise work, you might even want to invest in a marking gauge.
2. Visibility is Key: You want those markings to be visible, right? So, use a pencil that leaves a clear line on your wood. Don't be afraid to go over your lines a couple of times.
3. Don't Go Too Deep: When marking, be gentle. You're not trying to carve a tunnel into your wood. Just a light, precise line. Deep markings can interfere with your cuts and make your project less accurate.
4. Keep it Straight: No one likes a wonky cut, so keep your lines straight. Use a ruler, a straight edge, or a marking gauge to guide your pencil. Don't try to eyeball it, or you'll be cursing your lack of precision later.
5. Mark for Safety: Sometimes, you need to mark where you don't want to cut. For example, if you're cutting a board down to size, you might mark the waste area so you don't accidentally cut into the good part.
What to Mark:
Now, what exactly do you need to mark? It depends on your project, but here are some common things to mark:
Cut Lines: These are the lines that guide your saw. Be precise, especially if you're working with delicate cuts.
Drilling Points: Mark the exact spot where you want to drill your holes. This ensures you don't drill in the wrong place and ruin your project.
Center Lines: Mark center lines on boards or components for precise joining. It's like a guideline for making sure everything aligns perfectly.
Waste Areas: Mark areas you want to cut away to avoid making accidental cuts in the wrong places.
Measurements: Sometimes, it's helpful to write down your measurements directly on the wood. This makes it easy to double-check your work and avoids confusion.
Bonus Tips:
Transfer Points: Use a sharp awl or a pin to transfer points from one piece of wood to another. This helps create a more precise connection.
Sharp Pencil: A dull pencil can create inaccurate markings, so make sure you're using a sharp one.
Practice Makes Perfect: The more you practice marking, the better you'll become at it. It's like any skill, it takes time and effort.
Remember, marking your wood may seem like a small detail, but it's a crucial step in ensuring a successful project. Take the time to mark accurately, and you'll be rewarded with clean cuts, precise joints, and a finished product that you'll be proud of. Happy woodworking!
No comments:
Post a Comment