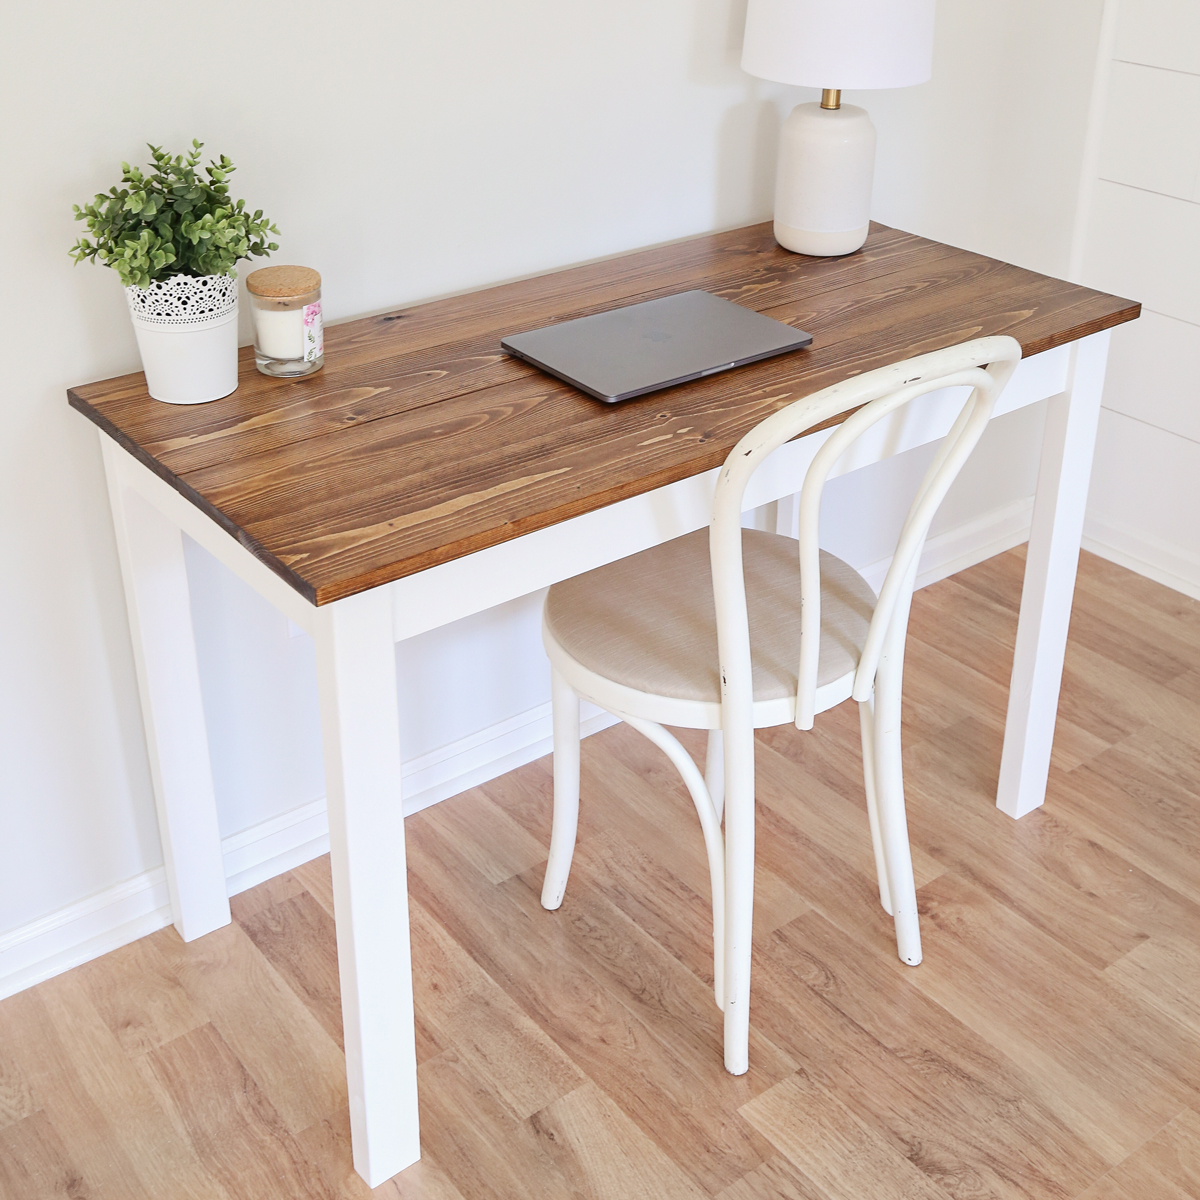
Crafting a Wooden Desk with a High-End Finish
The allure of a handcrafted wooden desk is undeniable. Its rich, natural beauty and timeless elegance can transform any workspace into a sanctuary of productivity and style. Achieving a high-end finish on such a piece requires meticulous attention to detail, quality materials, and a blend of traditional and modern techniques. This guide will walk you through the process, empowering you to create a desk that truly reflects your craftsmanship and taste.
Choosing the Right Wood
The heart of your desk lies in the wood you select. Consider the aesthetics, durability, and workability of various species. Hardwoods like walnut, cherry, and maple offer stunning grain patterns, natural resistance to wear, and excellent stability. Softwoods like pine and cedar provide a more rustic charm and work well for beginners due to their forgiving nature. Research the properties of each wood type to choose the one that aligns with your vision and skill level.
Designing and Planning
Before you plunge into the woodshop, sketch your desk design and create detailed plans. Consider its dimensions, functionality, and desired aesthetic. Would you like a traditional roll-top design, a sleek minimalist style, or something in between? Will you incorporate drawers, shelves, or a built-in monitor stand? Define the style elements that will shape your desk's personality.
Once you have a solid design, create a cutting list, which outlines the exact dimensions and quantities of each wood piece. This detailed plan will streamline the construction process and help you avoid costly mistakes.
Preparing the Wood
High-quality wood deserves proper preparation to ensure a flawless finish. Begin by carefully inspecting the wood for knots, imperfections, and potential movement. Select the most stable, aesthetically pleasing pieces for your desk.
Next, you'll need to plane and flatten each wood piece to achieve consistent thickness and even surfaces. This will ensure accurate joinery and a consistent finish. For a smooth, polished look, sand the wood progressively using progressively finer grits of sandpaper, working your way up from coarse to fine.
Constructing the Desk
Now it's time to bring your design to life! Employ precise joinery techniques to create a sturdy and durable desk. Common choices include:
- Mortise and tenon joints: Strong and elegant, these joints offer exceptional strength and stability.
- Dovetail joints: This intricate joinery is often seen in high-end furniture, providing both strength and decorative appeal.
- Pocket holes: For less visible joints, pocket holes offer a strong and convenient method for connecting pieces.
As you construct the desk, remember to work with precision and patience. Dry-fit the pieces before gluing to ensure a perfect fit and avoid gaps. Use quality wood glue and clamps to secure the joints, allowing the glue to cure completely.
The Art of Finishing
The final stage is where your desk transforms from a functional piece into a work of art. A high-end finish elevates its beauty and longevity. Here's a step-by-step guide:
Sanding and Refinishing
Sand the entire desk surface meticulously, using progressively finer grits of sandpaper to remove any imperfections and achieve a smooth, uniform finish. Carefully remove dust after each sanding step to avoid imperfections in your final coat.
Applying Stain
If you desire a rich color or to enhance the wood's grain, apply a stain. Choose a stain that complements the wood species and your desired aesthetic. Apply the stain evenly with a brush or cloth, following the manufacturer's instructions. Allow the stain to dry completely before proceeding.
Applying a Protective Finish
To protect the wood from scratches, spills, and everyday wear, apply a protective finish. Options include:
- Oil finishes: Penetrating oils like linseed oil or tung oil provide a natural, warm sheen, enhancing the wood's natural beauty.
- Polyurethane: Durable and water-resistant, polyurethane offers excellent protection for high-traffic areas.
- Wax: A traditional choice, wax provides a subtle sheen and easy maintenance.
Apply the finish in thin, even coats, allowing each coat to dry completely before applying the next. Follow the manufacturer's recommendations for drying times and number of coats.
Adding the Finishing Touches
Once the finish is dry, add the final touches that elevate your desk from ordinary to extraordinary.
- Hardware: Choose high-quality drawer pulls, hinges, and other hardware that complements the desk's style.
- Lighting: A desk lamp or ambient lighting can enhance the desk's ambiance and create a pleasant workspace.
- Accessories: A stylish pen holder, a leather desk pad, or a beautiful plant can add personality and practicality.
With patience, skill, and attention to detail, you can create a wooden desk that will stand the test of time, serving as a legacy of your craftsmanship and a cherished piece of furniture for years to come.
No comments:
Post a Comment